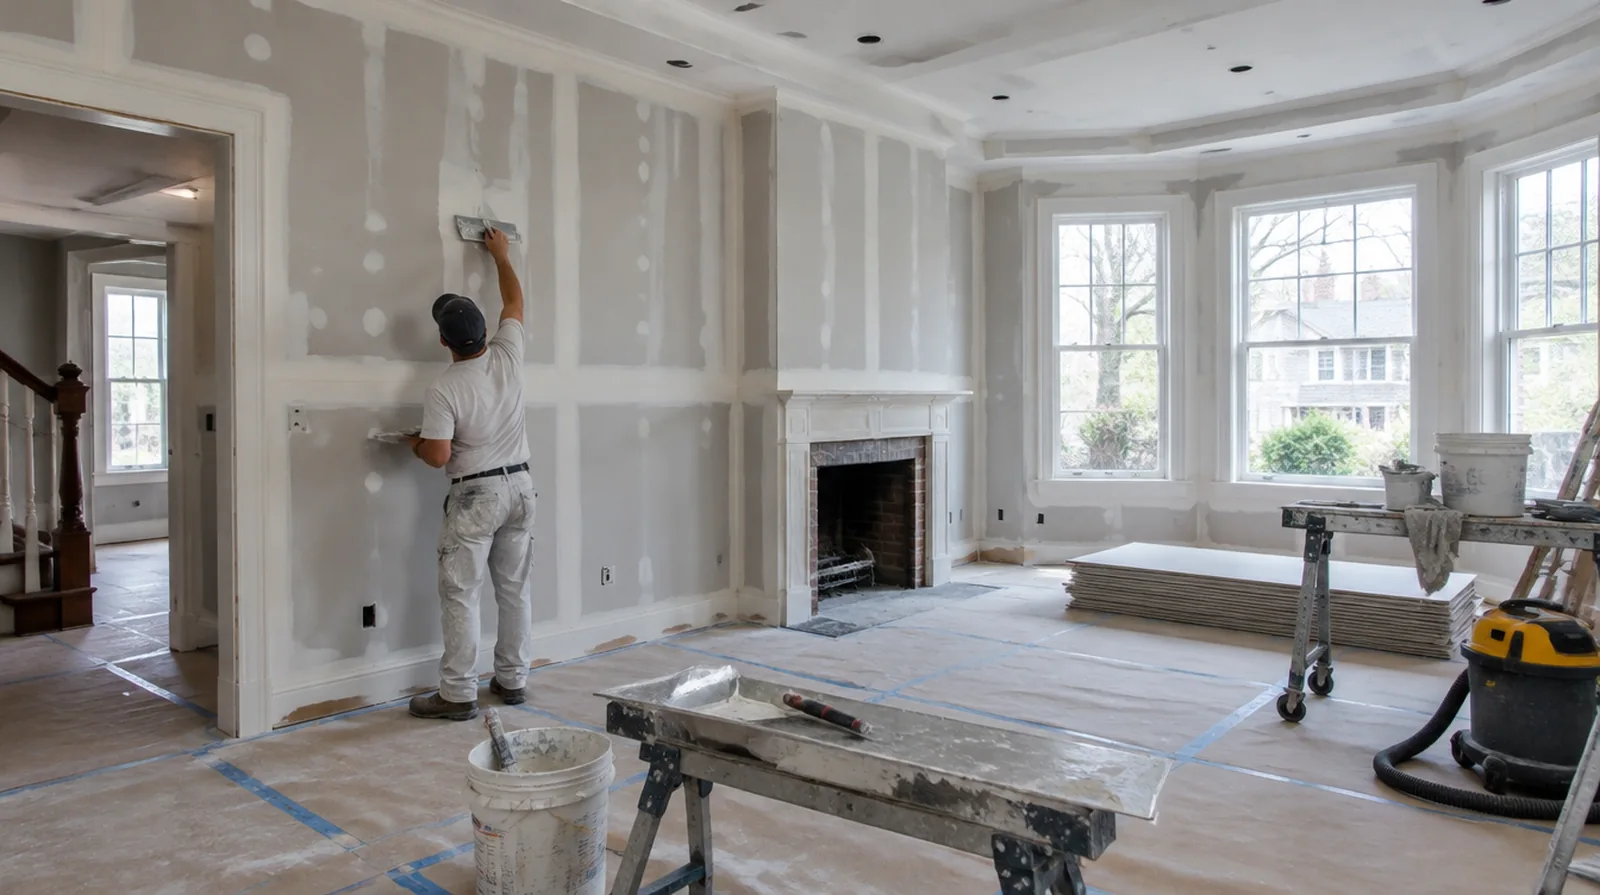
Build the seam gradually
Make later joint coats progressively broader so the transition becomes less abrupt. Butt joints usually need a broader blend because they lack the recessed edges of factory seams. Where the quoted work stops before painting, request a clear description of what remains so the next decorating stage can be priced realistically.
Allow genuine drying time
Do not judge a coat ready solely because its outer face appears firm. Temperature, air movement and room humidity affect the interval between stages of finishing. Before comparing two proposals, check that both include the same protection, finishing and cleanup boundaries instead of comparing totals alone.
Coordinate with the painter
Primer can reveal small imperfections that were challenging to see on the raw white surface. Establish responsibility for those final adjustments and any review after priming before the work starts. For a wall receiving a decorative covering, provide its preparation requirements early sufficient for the drywall finish to support that product.
Cover fastener heads
Fill fastener depressions level with the surrounding face without creating unneeded mounds. A screw that protrudes or has broken the paper should be addressed before it is concealed. At a repair beside an opening, allow clearance for moving board through the doorway and space to use the finishing tools effectively.
Consider a skim layer
Broad grazing light could reveal a difference in texture between the paper face and finished joints. Where the finish specification requires greater uniformity, consider an appropriate broad skim application. For a distinctive existing pattern, retain a reference sample or detailed picture to make the matching discussion more specific.
Agree on the visual standard
The expected decorative paint sheen, room lighting and viewing distance influence how much finishing a wall needs. A written finish level gives the installer and painter a clearer shared target. When panel replacement exposes a cavity, resolve any required inspection before that opening is closed and the finishing work begins.
Use controlled sanding
Sanding should refine small tool marks instead of grind away a badly shaped joint. Dust extraction and protection matter even for a room with only a few seams. For a room that stays in use, set a workable boundary around construction while retaining the access people need for normal daily activities.
Keep external corners straight
A corner profile only produces a straight visible line when it is fitted and coated correctly. Resolve distortion or damage to the bead before successive coats make correction more demanding. When the history of a repair is uncertain, note when it became visible and whether its appearance has altered across different seasons.
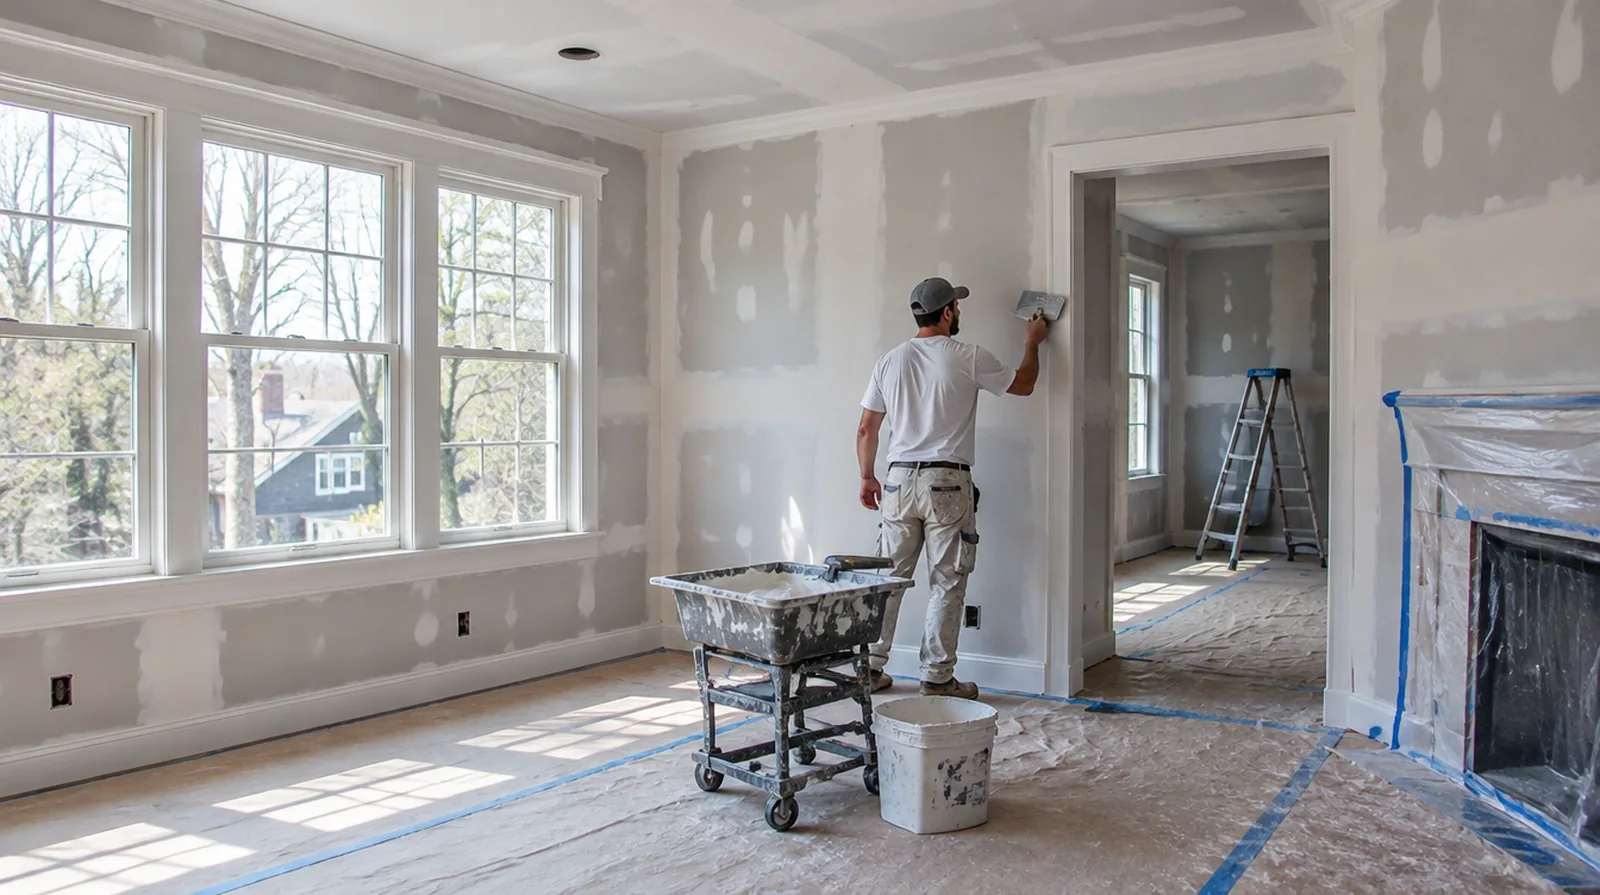
Inspect the whole wall
Review corners, returns and service openings as well as the straight seams in the main wall. Check the finished plane under the planned lighting and from a side angle where possible. If a distinct painter completes decoration, agree the condition of the handed over surface and assign responsibility for small final corrections.
Assess the hung board
Finishing cannot fully correct unsupported edges or panels that sit on different planes. Check how the sheets sit and how the fixings hold them instead of beginning with compound immediately. If occupancy must resume on a certain day, include the later primer and paint stages in the timetable as well as drywall installation and finishing.
Project context in Newton
Radiator heat in a Newton winter dries the air enough to reopen hairline cracks along ceilings. Humid summers in homes without central air slow compound drying between coats.
Scope questions before finishing
Where a future fixture will be installed, coordinate any required backing while the cavity is accessible instead of reopening the completed wall.
For a small repair with extensive setup, compare the total scope rather than assuming the price should follow the hole dimensions alone.
For work spread across differing planes, record their dimensions separately and describe the boundary of the treatment on each surface.
When the same defect has returned, share information about previous repair methods so the next assessment can consider why they did not last.
At the handover inspection, review the finish from ordinary room positions using the lighting conditions that were agreed for the work.
For a repair that crosses several surfaces, measure the affected planes separately so the estimate can explain where each finishing treatment starts and stops.
For a distinctive existing pattern, retain a reference sample or detailed picture to make the matching discussion more specific.
For a tightly furnished room, plan temporary storage and the minimum working clearance before material is carried into the property.
Where flooring is staying in place, agree on protective coverings and check that tools and material handling will not damage the visible finish.
For a project involving a building manager, confirm access hours and protection requirements before promising a start date or a short completion window.
If the decorative coating is already chosen, share its sheen and color early because those choices influence how preparation of the surface is judged.
For an initial assessment from pictures, provide an overall room photograph and a detailed view of the defect so both context and scale are apparent.
Explore the Newton drywall overview for related options, or read the project planning information before arranging the next stage.
More planning details for Newton
Winter parking bans in Newton affect where a work vehicle can stay during a multi-day job. Narrow driveways and stone walls on tree-lined Newton streets can mean carrying board some distance from the curb. Picture rail, crown and wide casings in older Newton houses should be protected before any cutting starts.