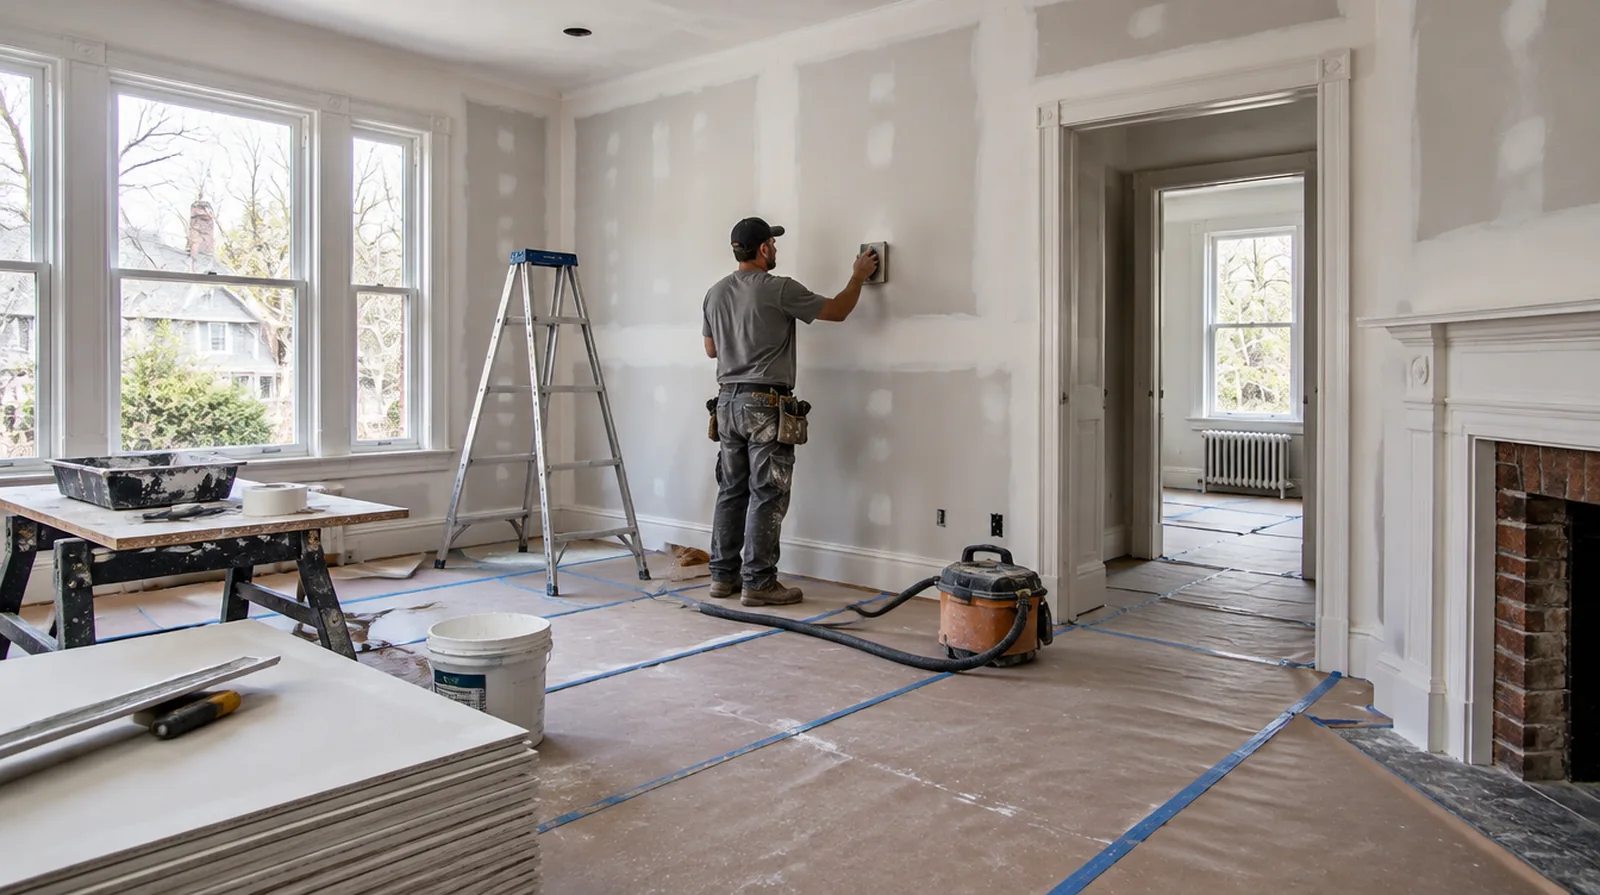
Identify the cause
A dent from moving furniture calls for a distinct repair than a joint that repeatedly opens beside a door. Describe any change in the defect and check whether the surrounding board is still stable. If the coating stability is unclear, assess which layers are adequately bonded and which ought to be removed rather than simply hidden beneath new material.
Prepare for primer
Fresh compound and existing painted drywall absorb coatings differently unless the repair receives suitable primer. Establish whether suitable primer is part of the repair or will be applied by another contractor. If the ceiling or wall includes fittings, identify the person responsible for removing and reinstalling each item before the work begins.
Document recurring movement
A crack that repeatedly reappears may need the cause investigated before more cosmetic work. State any moisture or movement concerns that another professional must resolve ahead of the drywall repair. When a wall has repeated defects, keep a record of earlier repair attempts so a new assessment does not simply repeat an unsuccessful approach.
Reinforce panel seams
The connection between old board and a patch needs reinforcing joint treatment. The tape belongs in a compatible bedding coat without trapped air or dry unbonded edges. For a surface carrying numerous paint layers, discuss whether differences in the retained profile or sheen justify decorating a broader area.
Feather beyond the opening
The visible finishing area typically extends farther than the hole because a gradual taper hides the repair edge. The gradual transition is particularly important where a window lights the surface from the side. If the completion date matters most, allow for intervals between coats as well as active labor rather than assuming the entire process happens continuously.
Review with side lighting
Use an angled view as well as a direct view when reviewing a finished patch. Checking from more than one angle helps separate surface imperfections from differences in paint sheen. For a project with several trades, agree which inspection or handover point must happen before the next person starts work.
Set the paint boundary
An old paint coating may not accept an inconspicuous local touch up even after a flat repair. Consider a corner to corner decorative boundary when color or sheen differences would otherwise remain noticeable. If there is a fixed move in date, reserve sufficient time for the coating stages after drywall work rather than counting only the installation period.
Choose the patch boundary
Loose paper and crumbling gypsum must be removed until the surrounding panel can support a durable repair. A tidy rectangular cut often provides stronger backing than following an irregular broken edge. Where light reflects along the wall, inspect the complete plane instead of limiting the review to the edge immediately next to the repaired section.
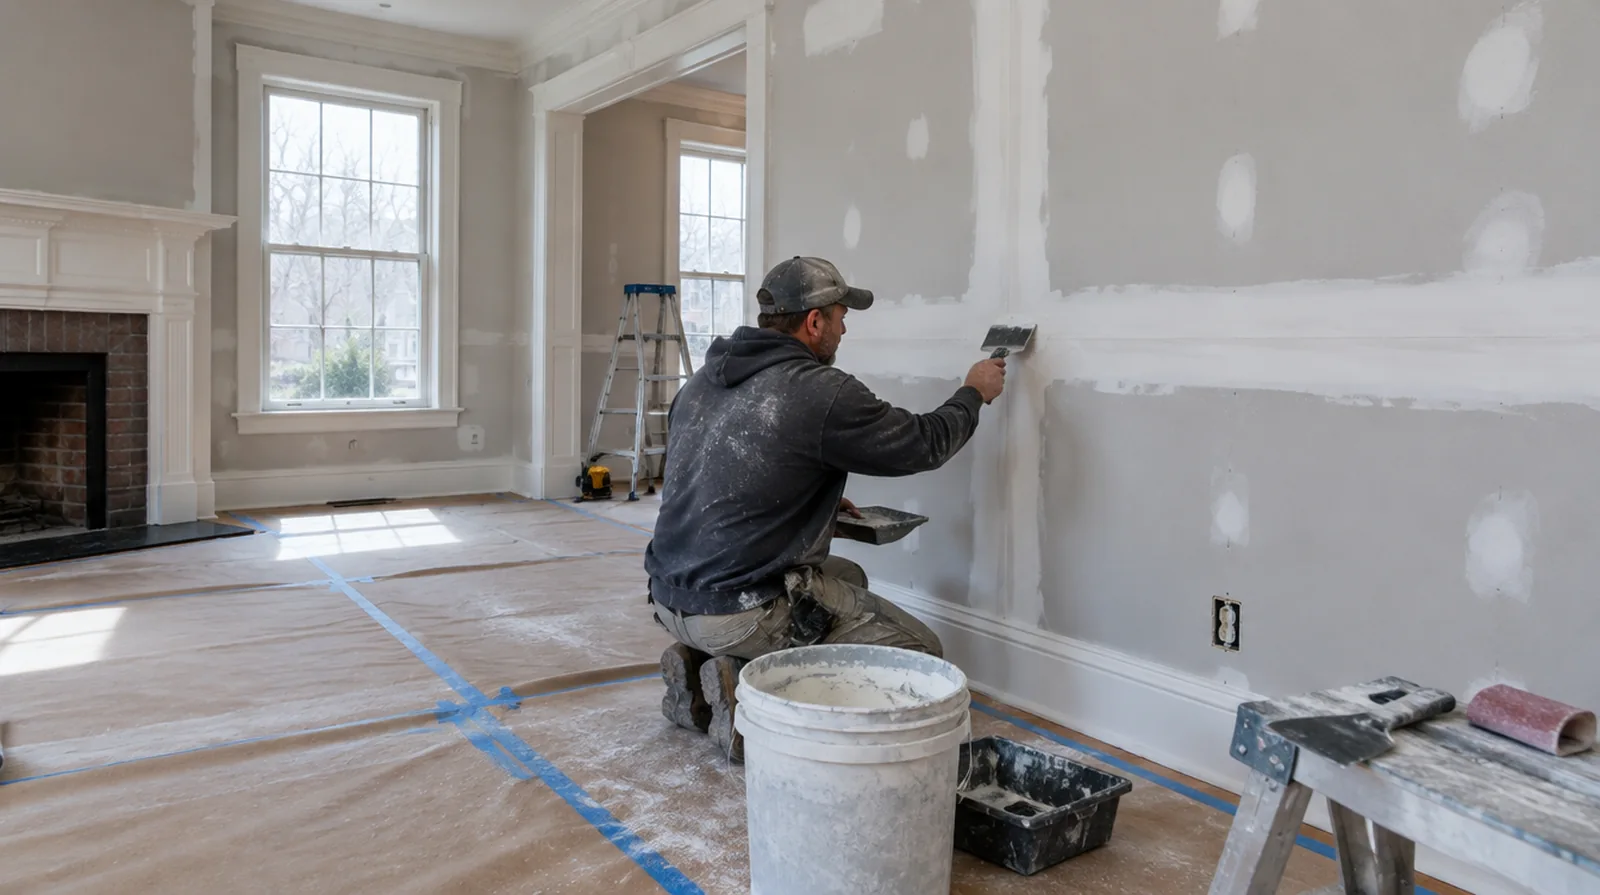
Handle small fastener marks
A bump over a fastener may reflect separation or movement at the panel support. Adding suitable fastening nearby may be necessary before the damaged spot receives finishing compound. For a limited patch requiring substantial setup, assess the complete package of access and protection rather than relating cost only to the opening size.
Support the replacement
Larger openings need a fitted board patch secured to framing or suitable backing rather than a thick mound of compound. Use a replacement that aligns with the original panel face before attempting to blend the joints. For a surface carrying numerous paint layers, discuss whether differences in the retained profile or sheen justify decorating a broader area.
Project context in Newton
A veneer plaster approach can suit an older Newton wall when a seamless match to original plaster matters. Narrow driveways and stone walls on tree-lined Newton streets can mean carrying board some distance from the curb.
Scope questions before finishing
At a repair beside an opening, allow clearance for moving board through the doorway and space to use the finishing tools effectively.
For work spread across different planes, record their dimensions separately and describe the boundary of the treatment on each surface.
Where a surface has been painted many times, consider whether differences in texture or sheen will require a wider decorative treatment.
If the completion date matters most, allow for intervals between coats as well as active labor rather than assuming the entire process happens continuously.
When the work area includes a doorway, check the clearance for panel movement as well as the amount of space available for finishing tools.
Where several contractors share the renovation, identify the inspection and handover milestones that determine when each following stage can proceed.
If the problem developed after another renovation, explain which nearby materials or building systems changed before the damage became visible.
At an edge beside built in furniture, state whether the obstruction will be removed or whether finishing stops at the section that can be reached.
For a wall receiving a decorative covering, provide its preparation requirements early sufficient for the drywall finish to support that product.
Where a neat final edge matters, agree whether the finish ends against existing trim or whether that trim will be removed and replaced.
When a paint contractor follows the drywall work, define the surface condition being handed over and decide who handles any minor final touch ups.
For a limited patch requiring substantial setup, assess the complete package of access and protection rather than relating cost only to the opening size.
Explore the Newton drywall overview for related options, or read the project planning information before arranging the next stage.
More planning details for Newton
Winter parking bans in Newton affect where a work vehicle can stay during a multi-day job. Humid summers in homes without central air slow compound drying between coats. Cracks around Newton windows that reopen every winter usually reflect seasonal movement in old framing.